
Imagine stepping into a world of low-carb delight with the aroma of freshly baked keto bread wafting through your kitchen. You’re about to embark on a journey where choosing the right ingredients, kneading, shaping, proofing, and baking will lead you to a delicious final product. Get ready to enjoy the process of making your very own keto bread at home.
Choosing the Right Ingredients
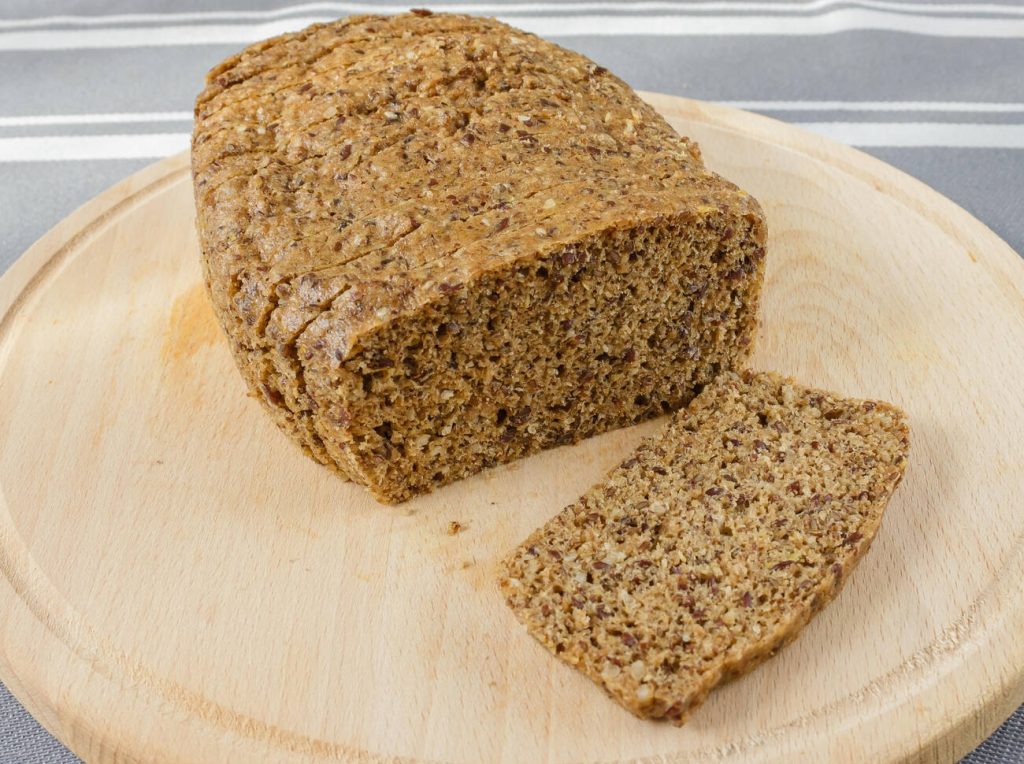
When making keto bread, it’s important to choose the right ingredients to keep it low-carb. Start by opting for flour alternatives like almond flour, coconut flour, or flaxseed meal instead of traditional wheat flour. These options are lower in carbs and higher in fiber. For sweetener choices, consider using erythritol, stevia, or monk fruit sweeteners as they won’t spike your blood sugar levels. Binding agents such as eggs or xanthan gum can help hold the bread together without gluten. Leavening agents like baking powder or baking soda assist in the rise of the bread without adding carbs. Lastly, texture enhancers like psyllium husk or ground chia seeds can improve the overall mouthfeel of your keto bread.
Preparing the Dough
Once you’ve mixed all the ingredients, it’s time to knead the dough until smooth. Here are some tips for preparing your keto bread dough:
- Flour Alternatives: Experiment with almond flour, coconut flour, flaxseed meal, or psyllium husk as low-carb substitutes for traditional flour.
- Yeast Substitutes: Consider using baking powder or baking soda instead of yeast for leavening in your keto bread recipe.
- Bread Machine: Utilize a bread machine to mix and knead the dough efficiently if you prefer a hands-off approach.
- Recipe Variations: Get creative with add-ins like cheese, herbs, seeds, or nuts to customize the flavor and texture of your keto bread.
These tips will help you achieve a delicious keto-friendly loaf without sacrificing taste or texture.
Kneading and Shaping the Bread
After mixing the dough, it’s important to knead it until smooth and then shape it accordingly. When kneading, remember the proper technique: push the dough away with the heel of your hand, fold it over, and repeat until elastic. This process helps develop gluten for structure. For different shapes, like loaves or rolls, follow shaping tips such as rolling into a log or forming into rounds. Experiment with kneading methods; some prefer a gentle approach while others opt for more vigorous kneading. Texture control is key; ensure even distribution of ingredients for uniformity. Lastly, aim for crust perfection by adjusting baking times and temperatures to achieve that golden exterior that complements your keto bread’s soft interior.
Proofing the Dough
Before shaping the dough, ensure it has proofed sufficiently to achieve the desired rise and texture. To master this step in making keto bread, consider the following:
- Yeast alternatives: Explore options like baking powder or baking soda for leavening in your keto bread if you prefer not to use traditional yeast.
- Rising time: Allow ample time for your dough to rise adequately; depending on the recipe, this can range from 30 minutes to a few hours.
- Temperature control: Maintain a warm and draft-free environment during proofing to support proper fermentation and rising of the dough.
- Dough consistency: Aim for a slightly sticky but manageable dough consistency; adjust with almond flour or coconut flour as needed.
Remember these tips when troubleshooting issues with your proofing process!
Baking the Bread
Ensure your oven is preheated to the correct temperature before placing the dough inside for baking. Achieving crust perfection in your keto bread requires attention to detail. Here are some key factors to consider during the baking process:
| Crust Perfection | Oven Temperature |
|---|---|
| Golden brown color | 350°F |
| Crunchy texture | |
| Even browning | |
| Rustic appearance | |
| Thin, crisp crust |
Baking time plays a crucial role in developing the desired crumb structure of your keto bread. It ensures that the interior is fully cooked while maintaining moisture. Once baked, proper slicing techniques will help showcase your hard work and dedication to achieving the perfect loaf.
Checking for Doneness
To determine if your creation is ready, poke the center with a toothpick – if it comes out clean, your masterpiece is done. Now, it’s time to evaluate the final product using all your senses:
- Testing texture: Gently press on the top of your keto bread; it should spring back slightly.
- Crumb evaluation: Slice into the loaf and inspect the interior for a soft, yet firm crumb structure.
- Color analysis: The crust should be golden brown, indicating a proper bake without burning.
- Taste test and Aroma check: Break off a piece and smell its aroma; then take a bite to savor the flavors – it should taste deliciously satisfying.
Cooling and Storing
Once your creation is ready, remember to allow it to cool completely before storing in an airtight container. Proper storage is crucial for maintaining the freshness of your keto bread. To prevent mold growth, ensure that the bread is fully cooled before sealing it up. Store the bread at room temperature for a few days if you plan on consuming it soon. If you want to keep it longer, freezing options are available. Wrap slices individually in plastic wrap before placing them in a freezer-safe bag or container. This method helps with portion control and prevents excess moisture from affecting the entire loaf when defrosting individual slices as needed. Moisture control is key to preserving the quality of your keto bread over time.
Enjoying Your Keto Bread
Now that your keto bread has cooled and been stored properly, it’s time to enjoy the fruits of your labor. Here are some ways to make the most out of your creation:
- Taste testing: Indulge in a slice or two to savor the flavors and texture.
- Recipe variations: Experiment with different ingredients like herbs, cheese, or seeds for unique twists.
- Nutritional benefits: Relish in the low-carb goodness packed with protein and healthy fats.
- Pairing options: Pair your keto bread with avocado, smoked salmon, or sugar-free jam for delightful combinations.
- Serving suggestions: Toast slices for breakfast topped with eggs or use them as a base for open-faced sandwiches at lunchtime. Enjoy every bite!